removing a raspberry pi camera IR filter: learn from my mistakes
What I want to do
I wanted to remove the IR filter from the Raspberry Pi Camera.
I looked a the problem and thought “huh, I’ll probably break this thing trying to open it up.” The schemes on the Raspberry Pi forums just seemed to confirm my suspicions. Then the lovely folks at the Reading Hackerspace made a video and some demo shots , and I thought– what the heck? I’ll try it. I read the Hackaday comments on the subject, and watched Barnaby Shearer’s attempt to get some closeup shots, and watched for advice on the Raspberry Pi blog.
My attempt and results
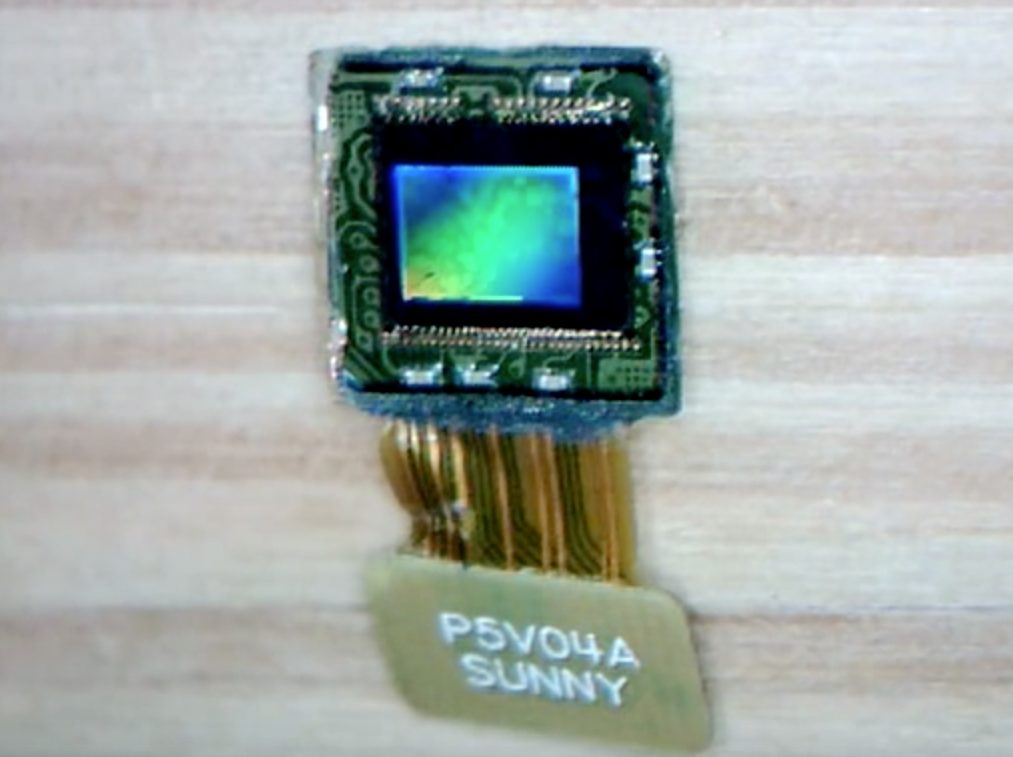
I destroyed one Raspberry Pi camera in the process, then succeeded with the second one… almost. I pulled out my video microscope and went to town, trying to integrate everything I learned from the internet, and from my first attempt that destroyed the sensor cable:
Questions and next steps
I would have succeeded if I’d used PVA glue to stick the lens assembly down, as recommended by some of the last comments on Hackaday. I avoided the superglue that Reading folks used because many people on the comments were saying that superglue can offgas and screw up CCDs and coatings. I used hot melt, and it came off. Then I reached over to the powered CCD (never do this) and put the lens back on, shorting out the CCD in the process.
Archived 4th of March 2018 from Publiclab.org.