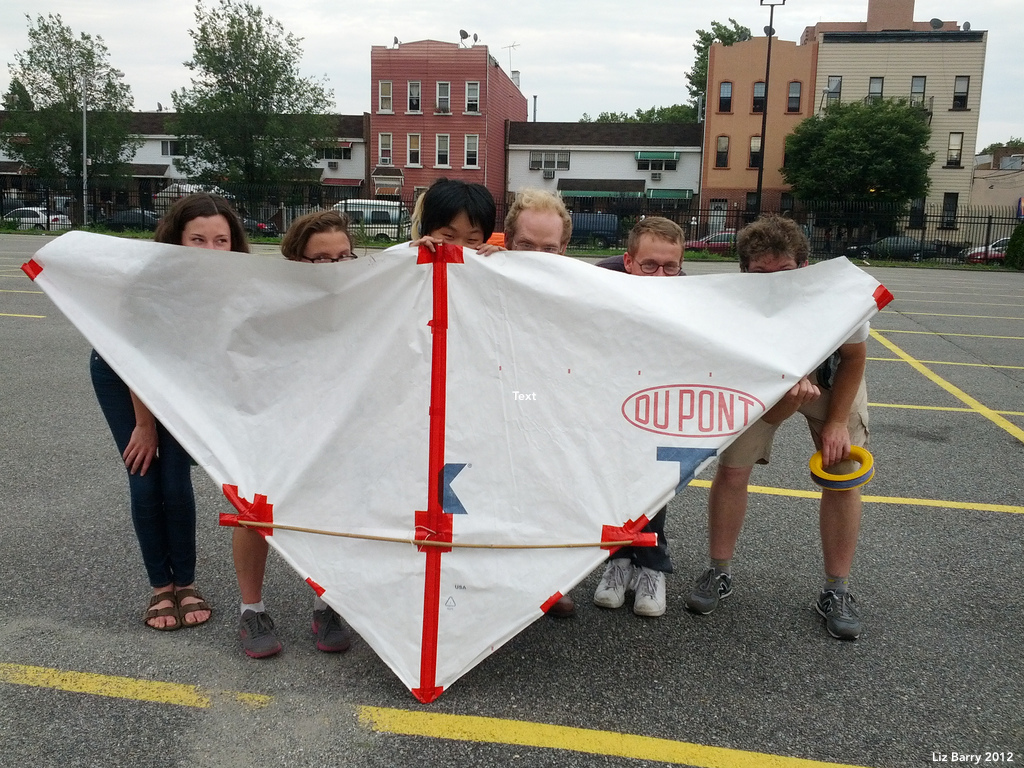
outlining needed kite tutorials
Glenn Davison has answered many of the questions below in the AKA guide to kite flying. I’ve archived the discussion for all its notes and camera-specific content from public lab contributors. Present Public Lab instructions here.
Kites are one of the least expensive and most reliable ways to get aerial photos. Our existing documentation is skeletal, and doesn’t reflect the competence, techniques, and equipment we’ve developed over the past few years.
This summer I’m aiming to tackle documentation and would like to invite you to help. Below are a series of tutorials I’ve imagined are necessary. Please comment on what looks important to you, and add any resources you know of, things you’d like to see, or a tutorial you’d like to do. I’ll try to aggregate any resources.
Each tutorial below has bullet points of issues/things to cover and some notes with resources.
Kite Pre-flight tutorials
Picking a rig and camera
- point and shoot cameras and action cams
- wide angle or flat lenses.
- Straight down rigs
- Oblique rigs
- Automatic rigs
- Remote control rigs
Camera rig attachment
- Single line rigging
- Pendulum rigging
- Picavet rigging
What kind of kite is needed?
- What are wind speeds at at the flight site?
- what does the rig weigh?
- what is the area and weight of the kite?
- what lift is expected for the kite area?
- how much wind is needed to fly?
- what effect will off-wind flying have on lift?
It would really useful to formulate some kite physics into easy lookup charts of the pull of a kite based on kite size, at different wind speeds. This would help people pick kites.
@Ecta64 and myself have been looking at kite wind speed meters (anemometers), which require equations for calculating just such factors. The physics of a kite anemometer would be the equations I’m most interested in, as they would allow for the characterization of specific kites fairly accurately.
Stephen E. Hobbs, lays out an idealized formulas and specific corrections for different types of kites in: A Quantitative Study of Kite Performance in Natural Wind with Application to Kite Anemometry, Cranfield Institute of Technology, Ecological Physics Research Group, PhD Thesis, 1986. See page 13 and Table 2.
Some more simplified physics are in: Kites: the science and the wonder, Dr. Toshio Ito and Hirotsugu Komura, 1983. see page 20
Picking a winder
- Yoyo (halo) winders
- Flat winders
- Tension winders (stratospools)
Flight safety essentials
- gloves, Leather work gloves and sport gloves, rubber gloves, cloth gloves
- Knives for cutting line
- Phone numbers for emergencies
Tying knots
- larks head
- bunt line
Checking equipment for safety before launch
- Checking kites for stitching/spar issues
- Checking kites for balance & symmetry
- Check seams
- Check ferrules
- Check spars
Picking a flying spot and launch site emergency planning
- Assessing space to drop the kite
- who to call if the kite wraps around a power line
- what to do if the kite breaks loose
- how to cut the line if it drops across a road
@olivia’s site picking in Centerville, MT
Kite Flight
I haven’t found that many great kite flying tutorials for less-than-ideal flying conditions, the sort of situations that most people encounter trying to get aerial photos. David & Sue Gomberg made this great video on flying under ideal conditions:
Dan Leigh’s instructions on flying deltas give some good advice on kite overflight and recovery. Gomberg’s how to fly a kite page is also good. So is the information from the Drachen Foundation. These principles could be more fully illustrated, especially for less-than-ideal flight conditions.
Members of the Kite Aerial Photography forums have made a few good lists of kite dangers that get to less-than-ideal flight locations and risks.
On-site site assessment
- when are conditions too dangerous for flight?
- observing treetops & the Beaufort scale
- checking the weather online and on-site
- watching for rain and lightning
Winding line onto a hoop or yoyo winder
- Solo
- In pairs
Launching a kite
- Launching through wind shadows and ground turbulence
- Playing out line and encouraging climbing
- Flying to different altitudes and monitoring stability
Recovery from flight trouble
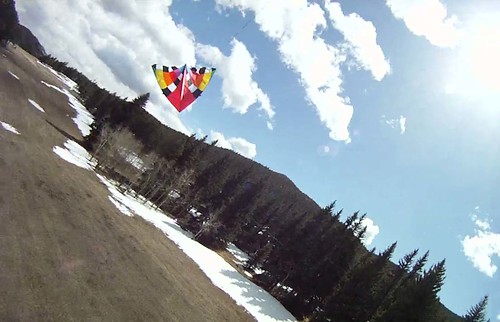
photo by Larry Cole (via KAP forums)
- What to do if the kite dives
- What to do in an overflight
- What to do when the wind drops
Attaching photo rigs to kite lines
- “Snap and wrap” carabiners
- Long wrap around a wire
- hang-ups
- Putting a loop in the line
Repositioning a Kite down wind and off wind
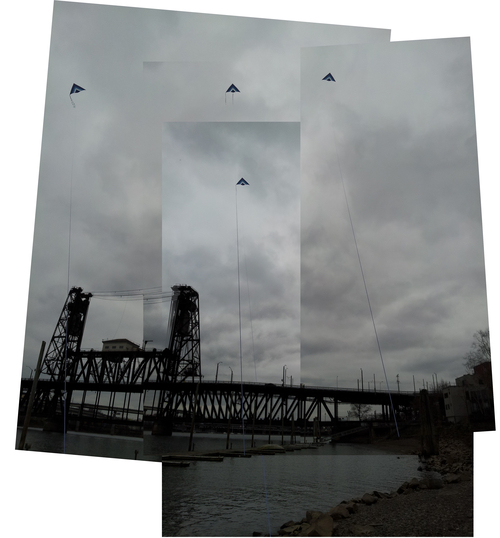
- Moving the kite down wind
- Adding tails
- Improvising tails
- Techniques for flying off wind
- Just tails
- Tails and weight
- Effects on lift and stability
Existing notes: flying off wind with tails, tail techniques 2, Paul’s NZ Fishing Kites techniques, US kite fishing techniques
Flying kites off of moving vehicles
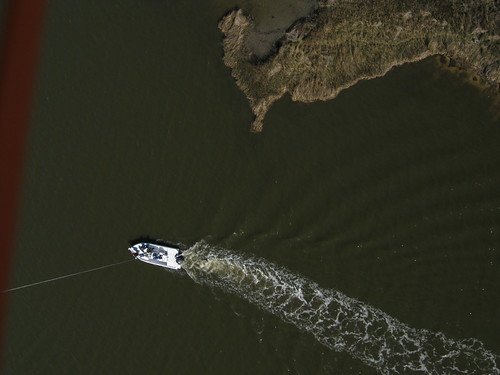
- boats/canoes/kayaks/sunroofs/pickup beds/bike trailers
- Launching
- Landing
- Turning around
Comments:
I’m game to tackle some of these. I can make some videos too on some of these points as well. I’ll sort out which ones I can do and email or reply here. Is this setup as a wiki or how do you want the information to be added?
I might organize some of these topics a little differently. Here is an outline of the first few topics.
Choosing a camera
- Do you want excellent photos? a. Better cameras are heavier and more expensive so flights involve more difficulty and risk. b. For under $200 an old model (used) of mirrorless camera (e.g., Canon EOS M, 365 grams) offers DSLR quality images at 2 or 3 times the weight of point and shoot cameras. c. For more than $200 many mirrorless cameras and small DSLRs are available.
- Do you want good photos? a. Point and shoot cameras can take very good photos when used carefully. b. High end Canon PowerShots (Canon S100, S110) cost under $200 used, weigh 200 grams, and have features that improve aerial image quality (shutter priority, manual focus). c. Small Canon PowerShots cost under $100 used and weigh under 150 grams and are a very good compromise for kite photography. d. Action Cameras (GoPro) are lightweight and easy to use. They are more expensive than point and shoot cameras and typically have very wide angle lenses so details of the ground are not captured with high resolution.
- Do you want adequate photos? a. Large keychain cameras (e.g., Mobius ActionCam) and action camera clones (e.g., Xiaomi Yi) cost under 100 dollars and weigh under 100 grams. The small sensor and lens of these cameras and minimal controls can limit image quality except in perfect conditions. b. Raspberry Pi and Arduino cameras have small sensors and small lenses and need perfect conditions to take good photos.
Attaching a camera to a kite line
-
A system to attach the camera to the kite line should facilitate the following functions (in order of importance). a. Protect the camera from hard landings (but not necessarily all crashes). i. Experienced kite flyers don’t worry about this, but they can usually afford replacement cameras. ii. Bigger, heavier cameras require stronger protection. b. Be light weight. c. Accommodate a good suspension system (Picavet or pendulum) that damps motion and prevents spinning. i. Avoiding tangles in the web of Picavet lines requires some practice but the ride is smooth. ii. A pendulum is very easy to use and gives excellent results. d. Allow easy access to all camera controls. i. Making sure all the camera settings are correct is important so being able to see the settings and change them at launch time can be critical. e. Accommodate easy switching between nadir and oblique shooting. f. Disassemble easily for compact transport and storage. g. Be easy to modify and attach things to.
-
Static rigs hold the camera pointed in the same direction. a. Typically, the camera takes photos at regular intervals (every 4 to 12 seconds). b. This is the default for mapping (nadir) photos. c. For oblique photography, a single camera orientation limits the potential view.
-
Pan/tilt rigs point the camera in different directions a. Motorized rigs use small servos to rotate (pan) the rig and/or tilt the camera. Typically, the shutter is triggered when the servos are not moving the rig. i. Continuous panning and interval shutter release can capture the entire 360° view. The panning may or may not stop during shutter releases. ii. Autonomous control (autoKAP) requires electronics to send programmed start and stop signals to the servo(s) and synchronized signals to the camera shutter to cover all or part of the view. iii. Remote control requires a radio transmitter (on the ground) and receiver (on the rig) so the user can remotely aim and shoot the camera. (If the user wants to see where the camera is pointing, an additional radio system can send video or data down from the camera.) b. Non-motorized pan/tilt rigs use other energy sources to move the rig, so no electronics or batteries are required. Typically, the shutter is released at regular intervals while the rig moves continuously. i. Wind-up spring mechanisms (egg timers) can be modified to pan the camera rig slowly as the camera shoots every few seconds. ii. Rubber bands can replace the egg timer if you only have 50 cents and your flights last only 15 minutes. iii. Propellers can capture wind energy and transfer it to rig movement. iv. Escapements can harvest the rocking motion of the hanging rig and transfer it into rotational movement. The incremental panning movement allows some photos to be taken while the rig is not being panned.
Choosing a kite
- Kite photography is done best with wind speeds between about 6 and 25 miles per hour. a. No single kite can lift a camera gracefully at all wind speeds in that range. b. Experienced kite photographers typically carry three to five kites to cover a range of wind conditions.
- Kite photography is easiest when wind speeds are about 8 to 18 miles per hour. a. A quality nine foot delta can cover most of this range (lifting small cameras), is very easy to use, costs less than $100, and is therefore a very good kite to start with. b. Adding a lighter wind kite (e.g., Fled or 7 foot Rokkaku) will cover the lower end of that range. c. Having only one kite will limit the conditions for successful kite photography, so you must pick your days more carefully.
- The useful wind range of a kite also depends on the weight of the camera rig being lifted. a. Experienced kite photographers often have multiple camera/rig combinations including light weight and heavier ones which extend the wind range for success.
mathew:
That’s a good point, Chris, and I like that you start at the camera.
Beyond framing kite photography, I think it’s worth integrating several of the photography techniques we’ve got proposed, starting from “so, you want to monitor a landscape?” People are using web-mapping and imagery products, cell phone photos, timelapse, trap cams, pole photos, kite photos, balloon photos, airplane photos, passenger get photos… a high level landing page would be useful.
Deciding what types of photos to get
Is a landscape view needed to show scale or impact, or is some physical factor being measured from photo to photo, i.e. murky water, or the changing shape and size of a waste pile?
How often are photos needed?
- Are photos needed to capture a fleeting, infrequent event like runoff? Continuous monitoring is probably the best option, see timelapse.
- Is an occasional check-in or one-time photo needed? Site visits may work best if the site is accessible
is flight needed?
- Can the subject be seen from ground-level?
- do people pass by regularly? Phone images may work.
- can a time-lapse camera be placed nearby? See time-lapse options.
- can images be captured from a nearby building/high point?
- can the images be captured with a pole (10M or less)
- is the site accessible, or are the flying areas far from the site? see picking a flying site.
if the site is not accessible
- can oblique images from a distant point work?
- can a kite be placed nearby? see can the kite get to the target site.
If flight is needed
- What angle are the photos needed at?
- Can a balloon be flown from the site?
- Can the kite get to the target site?
mathew:
@Ecta64 How do you feel about the Kite Anemometer section and lift calculations? I really think a lookup chart of “I have X grams of stuff I need Y kite in Z wind to lift it” would be real helpful. You don’t need to be able to answer the question, but do you think you could frame it given some of the articles on kite anemometry?
Ecta64:
I did try making a wiki entry on kite anemometry but I think I might instead make a video series (5 under 6 min videos) on it: 1) what is a kite aneomoeter 2) safety 3) equipment 4)Kite designs and tails 5) flying and gathering data https://publiclab.org/wiki/kite-anemometers
kite anemometers on github and headfullofair.com.
Archived 4th of March 2018 from Publiclab.org.
